Removing fragile paper labels can be a delicate task, requiring careful consideration to avoid tearing or damaging the underlying surface. Whether you're dealing with antique books, vintage artifacts, or sentimental items, the following guide provides a step-by-step approach on how to safely and completely remove fragile paper labels without causing harm.
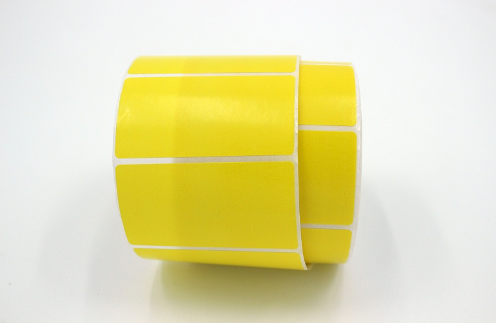
1. Assess the Label:
Before you begin the removal process, assess the condition of the paper label. Take note of its fragility, adhesive strength, and any potential risks associated with its removal.
2. Gather Supplies:
Assemble the necessary tools for a safe label removal process:
-
Microspatula or Dental Pick: Use a microspatula or a dental pick with a fine tip to gently lift the edges of the paper label.
-
Mild Solvent: Choose a mild solvent such as isopropyl alcohol or distilled water to dissolve the adhesive. Test the solvent on a small, inconspicuous area to ensure compatibility with the material.
-
Cotton Swabs or Soft Brushes: Employ cotton swabs or soft brushes for applying the solvent precisely and gently.
-
Blotting Paper or Absorbent Cloth: Have blotting paper or an absorbent cloth ready to absorb excess solvent and prevent it from spreading.
-
Plastic or Teflon Bone Folder (Optional): A plastic or Teflon bone folder can be used to gently press down lifted label edges without causing damage.
3. Test in a Small Area:
Before applying any solvent to the entire label, test it in a small, inconspicuous area to ensure that it won't cause discoloration or damage to the underlying material.
4. Lift the Edges:
Using a microspatula or dental pick, carefully lift the edges of the paper label. Work slowly and patiently to avoid tearing. If the label is resistant, apply a small amount of solvent along the edges to loosen the adhesive.
5. Apply Solvent Gently:
Dip a cotton swab or soft brush into the chosen solvent and apply it gently to the lifted edges of the paper label. Allow the solvent to penetrate the adhesive and soften it. Avoid saturating the label or the underlying material.
6. Peeling or Rolling Method:
Once the adhesive is softened, use the microspatula or dental pick to peel or roll the paper label away from the surface. Work in small sections, applying additional solvent as needed.
7. Clean Residue:
After removing the paper label, check for any remaining adhesive residue. Dampen a clean cotton swab with solvent and gently dab at the residue until it lifts off. Be cautious not to oversaturate the material.
8. Blot Excess Solvent:
To prevent the solvent from spreading, blot the treated area with blotting paper or an absorbent cloth. This step helps protect the underlying material and ensures that no excess liquid is left behind.
9. Final Inspection:
Inspect the cleaned area to ensure that no damage or discoloration has occurred. If the material is sensitive, consider applying a small amount of archival adhesive or tape to secure the cleaned area.
Conclusion:
Removing fragile paper labels demands a careful and patient approach. By using the right tools and mild solvents, you can safely lift and remove labels without compromising the integrity of the underlying material. Take your time, test in small areas, and prioritize the preservation of both the label and the item it's attached to.
We offer comprehensive technical support, including free professional labeling solutions, advice on label materials and adhesive selection, as well as online/offline assistance from professional software and hardware engineers. Service email: andy@ownlikes.cn. In pre-sales, we leverage our extensive experience in specialty labeling projects to provide clients with the most suitable hardware solutions. Additionally, all our label barcode printers and scanners come with a three-year free warranty, demonstrating our confidence in our products.

