How to Use Self-Adhesive Label Paper for Printing Labels
Self-adhesive label paper is a popular choice in the sticker label industry due to its convenience and ease of use. Whether you are a small business owner or an individual looking to print labels for personal use, understanding how to use self-adhesive label paper effectively is essential. In this article, we will guide you through the process of using self-adhesive label paper for printing labels.
Step 1: Select the Right Self-Adhesive Label Paper
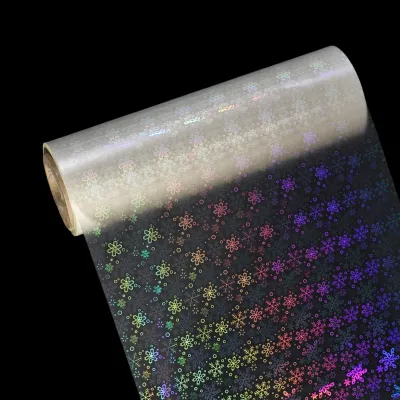
The first step in using self-adhesive label paper is to choose the right type for your printing needs. Consider factors such as label size, shape, and adhesive strength. Self-adhesive label papers come in various options, including matte, glossy, transparent, and colored. Select the type that best suits your requirements.
Step 2: Prepare Your Label Design
Before printing labels, it is crucial to have a well-designed label template. You can use graphic design software or label design software to create your design. Ensure that your label design fits the dimensions of the self-adhesive label paper you have chosen. Add necessary elements such as text, images, and barcodes based on your label's purpose.
Step 3: Load the Self-Adhesive Label Paper
Once your label design is ready, load the self-adhesive label paper into your printer. Most printers have a specific tray or feed for loading label paper. Ensure that the label paper is properly aligned and securely placed in the tray to avoid any printing errors.
Step 4: Adjust Printer Settings
Before printing, it is essential to adjust your printer settings to ensure optimal results. Go to the printer settings on your computer and select the appropriate paper type, such as "label paper" or "self-adhesive paper." Additionally, adjust the print quality and color settings based on your preferences and requirements.
Step 5: Print a Test Page
Before printing a large batch of labels, it is advisable to print a test page. This will help you ensure that the label design is correctly aligned and that the colors and text appear as intended. Make any necessary adjustments to your design or printer settings based on the test page results.
Step 6: Print Your Labels
Once you are satisfied with the test page, proceed to print your labels. Ensure that you have enough self-adhesive label paper loaded in the printer tray. Click on the print button in your design software or go to the print settings on your computer to initiate the printing process.
Step 7: Let the Labels Dry
After printing, allow the labels to dry completely before handling them. This will prevent smudging or smearing of the ink. Give the labels sufficient time to dry, depending on the type of ink and paper used.
Step 8: Apply the Labels
Once the labels are dry, carefully peel them off the self-adhesive backing. Place the labels on the desired surfaces, ensuring they are applied smoothly and without any air bubbles. Press firmly to ensure proper adhesion.
Conclusion
Using self-adhesive label paper for printing labels is a straightforward process that requires careful consideration of paper selection, label design, printer settings, and application. By following the steps outlined in this article, you can efficiently produce high-quality labels for various purposes. Remember to choose the right label paper, design your labels accurately, and adjust printer settings for optimal results. Happy label printing!
We offer comprehensive technical support, including free professional labeling solutions, advice on label materials and adhesive selection, as well as online/offline assistance from professional software and hardware engineers. Service email: andy@ownlikes.cn. In pre-sales, we leverage our extensive experience in specialty labeling projects to provide clients with the most suitable hardware solutions. Additionally, all our label barcode printers and scanners come with a three-year free warranty, demonstrating our confidence in our products.


